Los Angeles, California |
|
Los Angeles, California |
|
|
|
||
Some like to set up their sites using the Windows IIS web server. Here is how you can do that using Windows 7. |
|||
| NOTE: When installing DotNetNuke we usually have
the expectation that it will work. When this expectation is not met
it frequently leads to anger and frustration. Please understand that
the Windows 7 operating system is not in the control of the
DotNetNuke Core.
|
It is impossible for me to respond
individually to people who need help. Unfortunately any emails requests will have to be ignored with no reply. Please use the DotNetNuke forums for help. |
||
Install IISFirst, ensure that Internet Information Services (IIS) is installed correctly. |
|||
| Go to the Control Panel |
|
||
| Select Programs |
|
||
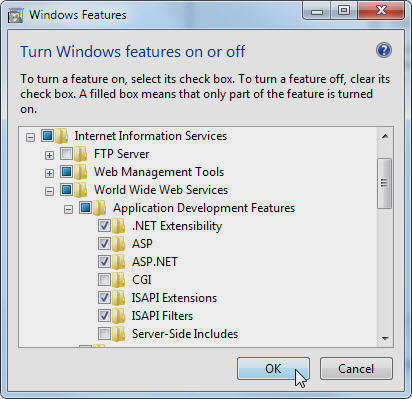
| Select turn Windows Features on or off |
 |
||
| Ensure that ASP.NET is enabled. |
 |
||
Download DotNetNukeThe trick here is to download the Install Version. The source is bulky and not useful for module development because you don't want to develop a module on an installation that is not standard. |
 |
||
Set up SQL Server |
|||
|
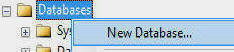
Create a DotNetNuke database in SQL Server |
 |
||
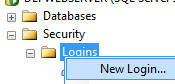
| Under the main Security node (not the one under the database you just created), right-click on Logins and select New Login |
 |
||
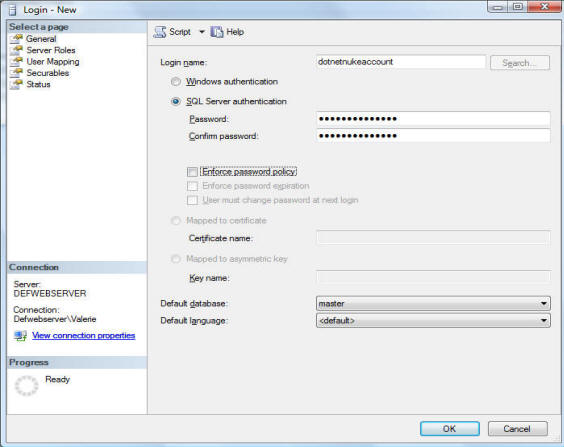
| Create an account that uses SQL Server authentication and provide a password. |
 |
||
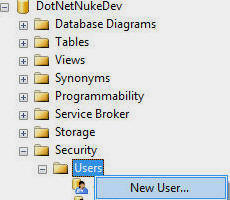
| In the database you created, select Security then right-click on Users and select New User. |
 |
||
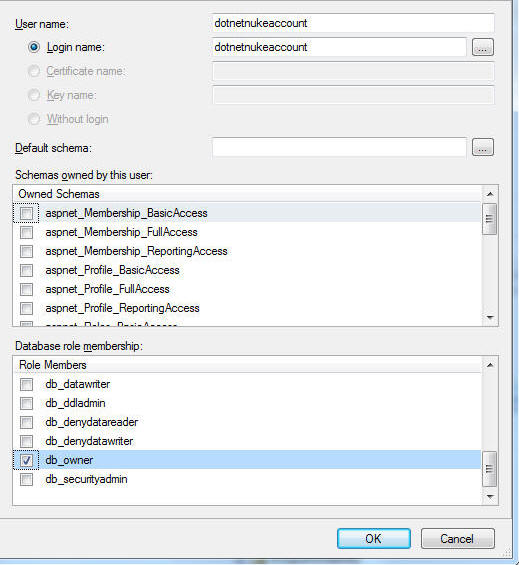
| Enter the account you created and select db_owner
for "Database
role membership". Click OK. |
 |
||
|
|||
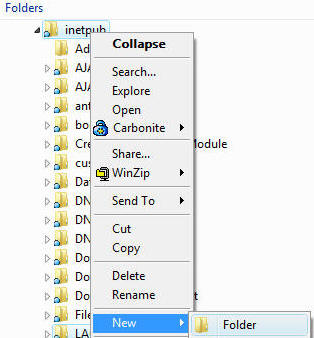
| In windows file manager, create a new folder in the "C:\Inetpub" directory (security will be easier to set in this directory) |
 |
||
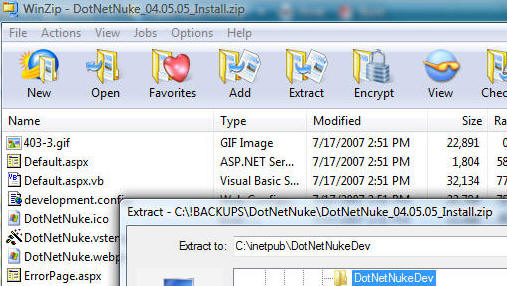
| Unzip the files from the DotNetNuke install files, that you downloaded, into the directory. |
 |
||
| Right-click on that directory and select Properties. |
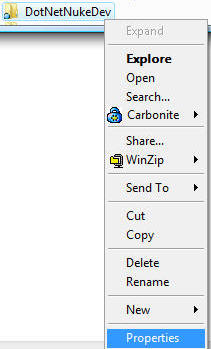 |
||
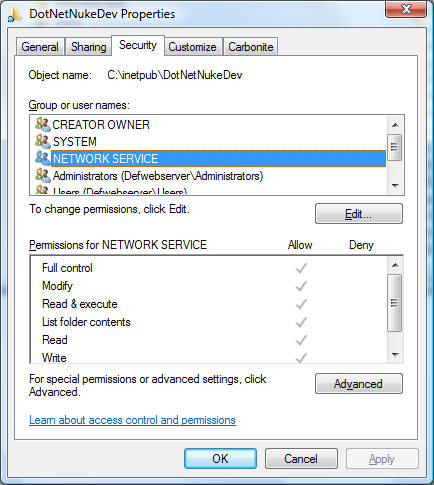
| On the Security tab, click the Edit button to change the permissions. Add NETWORK SERVICE and give it Full Control. |
 |
||
| Uncheck the Read-Only box and click the Apply button. |
|
||
Set up IIS |
|||
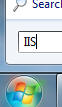
| Click the Start button then type IIS in the Search box and press Enter |
 |
||
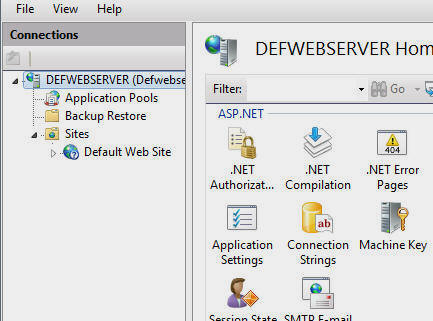
| The Internet Information Services (IIS) Manager will start |
 |
||
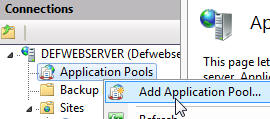
| Right-click on Application Pools and select Add Application Pool |
 |
||
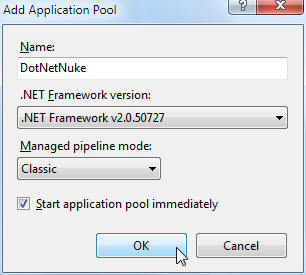
| Create an Application Pool called
DotNetNuke. Select .NET Framework v2.0.50727 for Framework version and Classic for Managed pipeline mode. Click OK |
 |
||
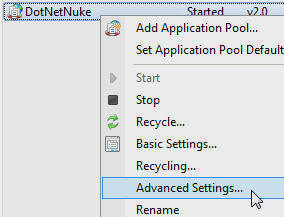
| Right-click on the Application pool just created and select Advanced Settings... |
 |
||
| Set the Identity to NetworkService |
 |
||
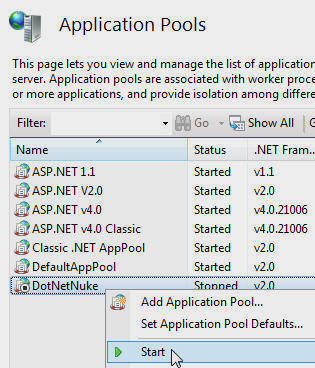
| Make sure the Application Pool is started by right-clicking on it and selecting Start |
 |
||
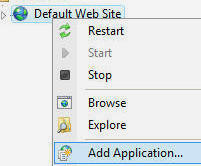
| Right-click on the Default Web Site and select Add Application. |
 |
||
|
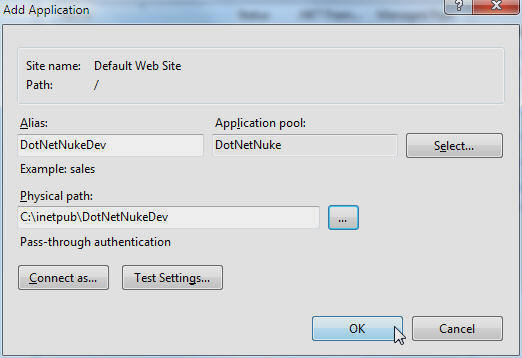
Select the Physical Path to the directory you
placed the files in. Click the Select button to set the Application pool to DotNetNuke. Click OK |
 |
||
Setup DotNetNuke |
|||
| In your web browser, navigate to the web site you set up in IIS. |
|
||
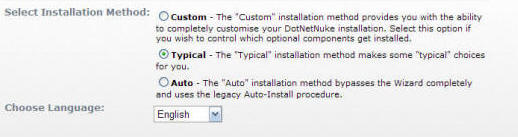
| When the Installation Wizard comes up select
Custom, Typical or Auto and click the
Next button. Typical is recommended. Proceed through the wizard to configure DotNetNuke and install it. |
 |
||
| The DotNetNuke site will then install. |
|
||
Next Steps |
|||
|
DotNetNuke® 5 Module Tutorial Series:
|
|||
DotNetNuke® is a registered trademark of DotNetNuke Corporation