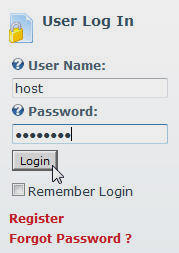
Log into the website using the Host account.
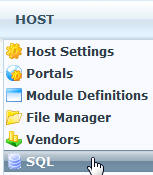
From the Host menu, select SQL
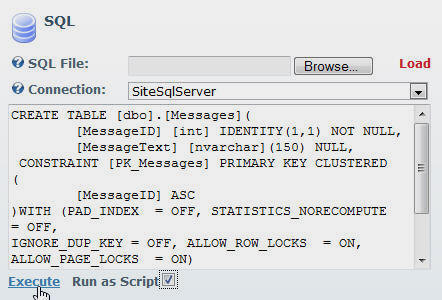
On the SQL page, select the Run as Script box, paste the following script in the box and click the Execute link.
CREATE TABLE [dbo].[Messages](
    [MessageID] [int] IDENTITY(1,1) NOT NULL,
    [MessageText] [nvarchar](150) NULL,
 CONSTRAINT [PK_Messages] PRIMARY KEY CLUSTERED
(
    [MessageID] ASC
)WITH (PAD_INDEX  = OFF, STATISTICS_NORECOMPUTE  = OFF,
IGNORE_DUP_KEY = OFF, ALLOW_ROW_LOCKS  = ON, ALLOW_PAGE_LOCKS  = ON)
ON [PRIMARY]
) ON [PRIMARY]

GO
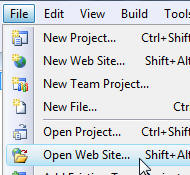
Using Visual Studio, open the DotNetNuke website by selecting File from the Toolbar, and then select Open Web Site...
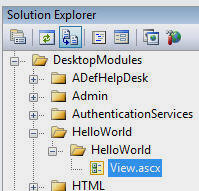
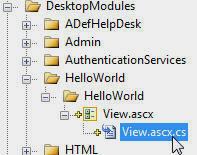
In the Solution Explorer, you will see the HelloWorld module under the DesktopModules folder.
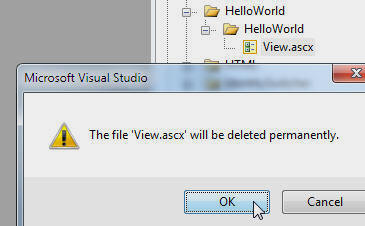
Delete the file.
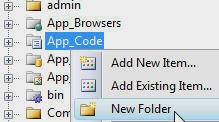
Right-click on the App_Code folder and select New Folder.
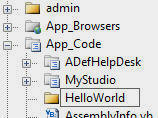
Name the folder HelloWorld.
![]()
In the Solution Explorer, double-click on the web.config file to open it.
In the web.config file add the line:
<add directoryName="HelloWorld" />
to the <codeSubDirectories> section.
This is done to instruct ASP.NET that there will be code created in a language other than VB.NET (which is the language of the main DotNetNuke project).
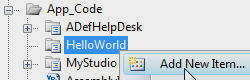
Right-click on the HelloWorld directory located under the App_Code directory and select Add New Item.
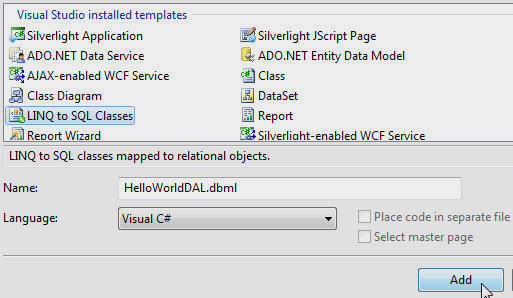
In the Add New Item window, select the LINQ to SQL Classes template.
Enter HelloWorldDAL.dbml for the Name and select Visual C# for the Language.
Click the Add button.

Wait a few minutes and the Object Relational Designer will open in the Edit window.
Click the Server Explorer link to open the Server Explorer.
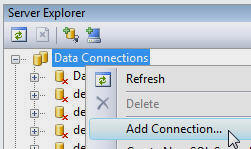
In the Server Explorer, right-click on the root node (Data
Connections) and select Add Connection.
Enter the information to connect to the database the DotNetNuke site is running
on.
You will be able to select the existing database your DotNetNuke site is running
on in the Select or enter a database name dropdown.
This will not be the connection that the module will use when
it runs (you will set that connection in a later step).
This is only a connection to allow you to use the Object Relational
Designer.
Click the OK button.
![]()
When the connection shows up in the Server Explorer, click the plus icon to expand it's object tree to display the tables.
Locate the Messages table.
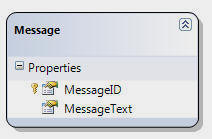
Click on it and drag and drop it on the Object Relational Designer panel on the left.
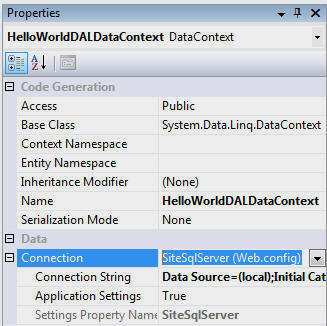
Click anywhere in the white space on the Object Relational Designer
panel so that the HelloWorldDALDataContext properties show in
the Properties window (you can also select it from the
drop-down in the properties window).
In the Connection drop-down select SiteSqlServer
(Web.config).
This instructs the class to use the connection string of the DotNetNuke site that it is running on.
Save and close the file.

Right-click on the HelloWorld folder (that is under the DesktopModules\HelloWorld folder) and select Add New Item.
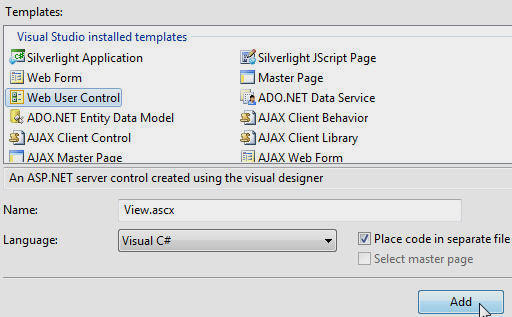
From the Add New Item box, select the Web User Control template, enter View.ascx for the Name,
select Visual C# for the Language, and check the box next to Place code in separate file.
Click the Add button.
Switch to Design mode.

From the Toolbox, select the LinqDataSource control. Drag the control onto the View.ascx page.

Select Configure Data Source...
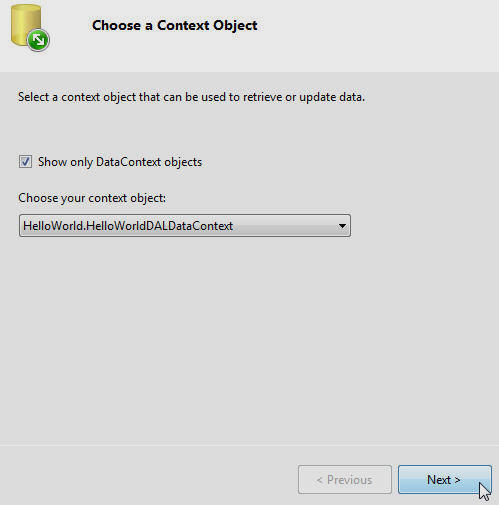
Select the DataContext that was created earlier in the dropdown.
Click Next
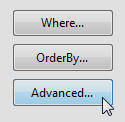
On the Advanced Options dialog, click the Advanced... button.
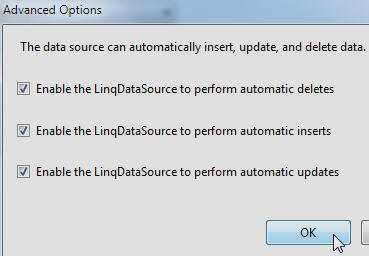
Select all three check boxes and click OK.
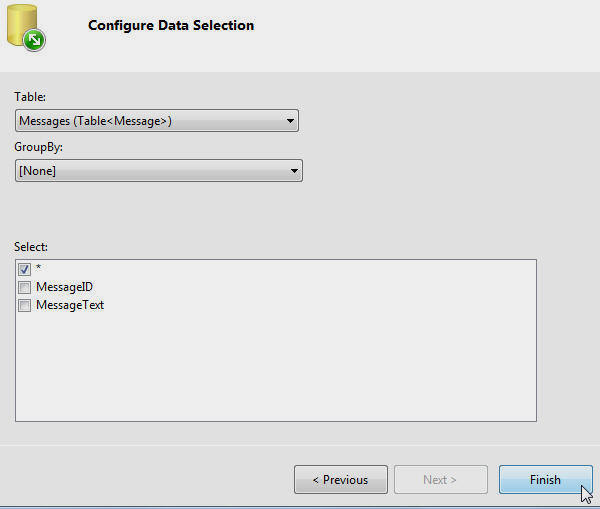
Click Finish.
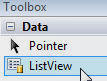
From the Toolbox, select the ListView control. Drag the control onto the View.ascx page.
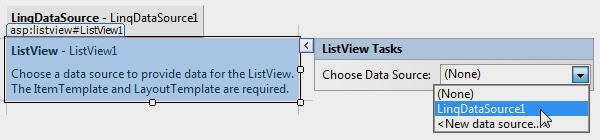
Select the LinqDataSource created earlier.
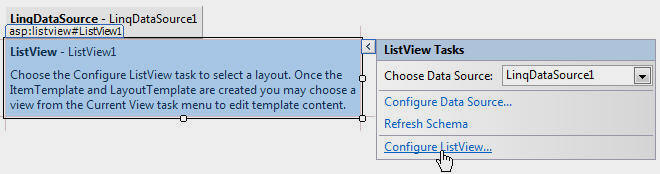
Select Configure ListView...
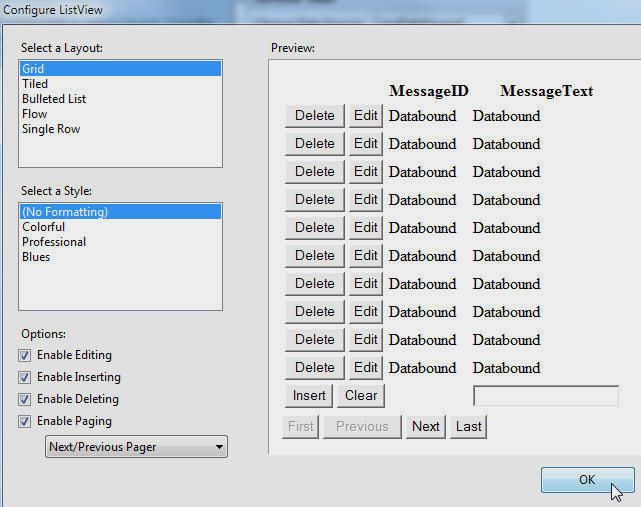
Check all the Options check boxes and click OK.
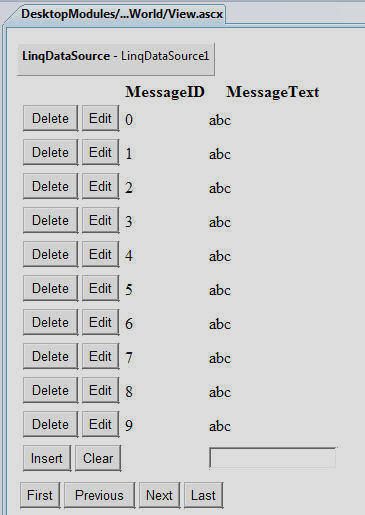
The form will display in the designer.
Click the plus icon next to the View.ascx file in the Solution Explorer (under the HelloWorld directory)
Double-click on the View.ascx.cs file to open it.
Change the class so it inherits from:
: DotNetNuke.Entities.Modules.PortalModuleBase
Save the file.
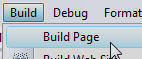
From the toolbar, select Build then Build Page.
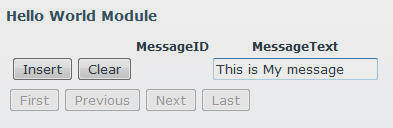
Refresh the page in the web browser.
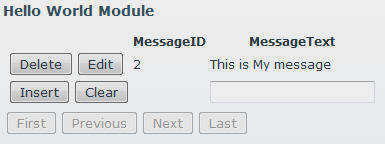
The module is now complete.
[Back to: The ADefWebserver DotNetNuke HELP WebSite]
|
Buy DotNetNuke Modules from Snowcovered |
![]() DotNetNuke is a registered trademark of DotNetNuke Corporation.
DotNetNuke is a registered trademark of DotNetNuke Corporation.