This tutorial will walk you through the creation of a Report Model.
Note, this tutorial assumes you have Reporting Services installed on your local computer at http://localhost/Reports.
What you will need:
|
Install and configure SQL Reporting services
This book is on SQL Server 2005 Reporting services but it is recommended reading:Developer's Guide to Reporting Services 2005
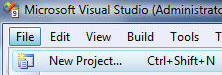
Open Visual Studio. From the menu bar, select File then New Project.
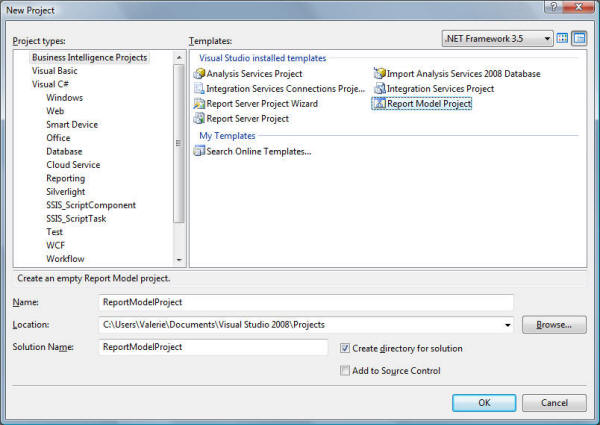
From the New Project screen:
- Select Business Intelligence Projects in the "Project types:" section
- Click on Report Model Project
- Enter ReportModelProject for Name
- Click the Create directory for solution box
- Click the OK button
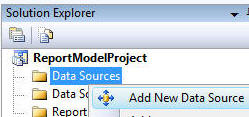
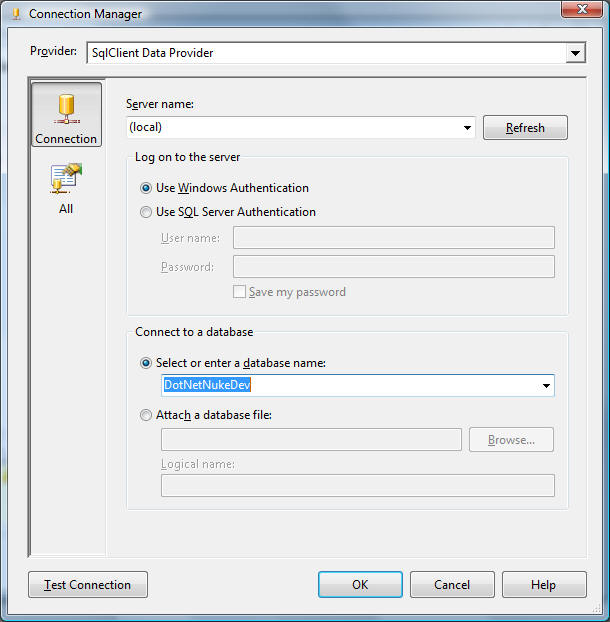
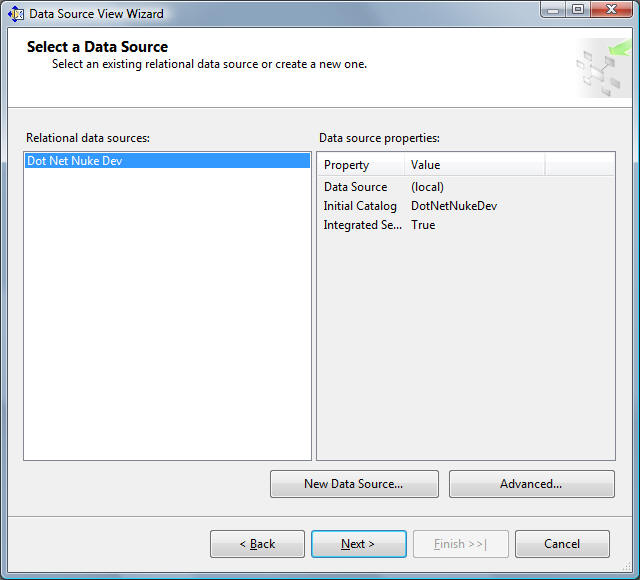
Click the New button to define a new connection.

Use the Test Connection button to test the connection.
Click the OK button.
Click the Next button.
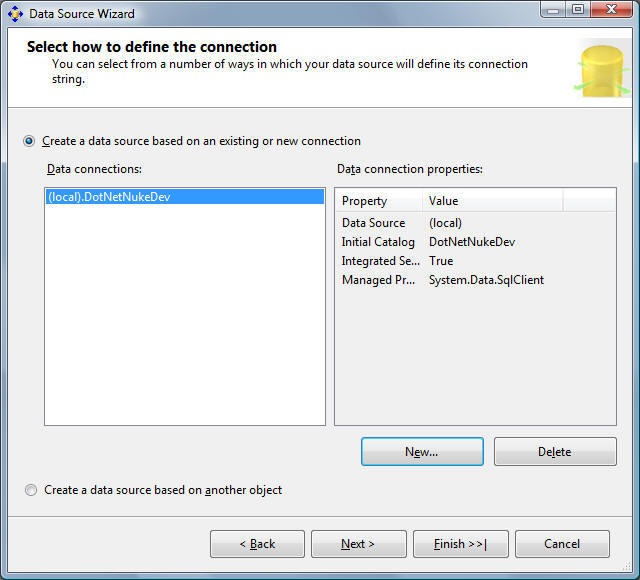
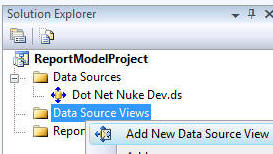
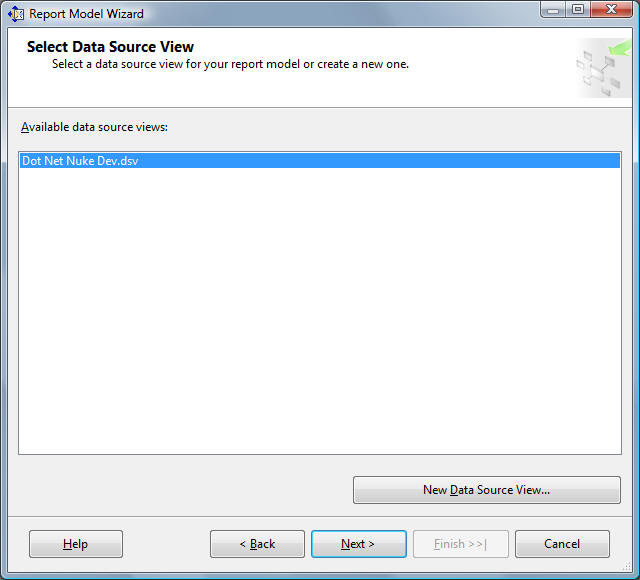
You will see the Data Source you created previously.
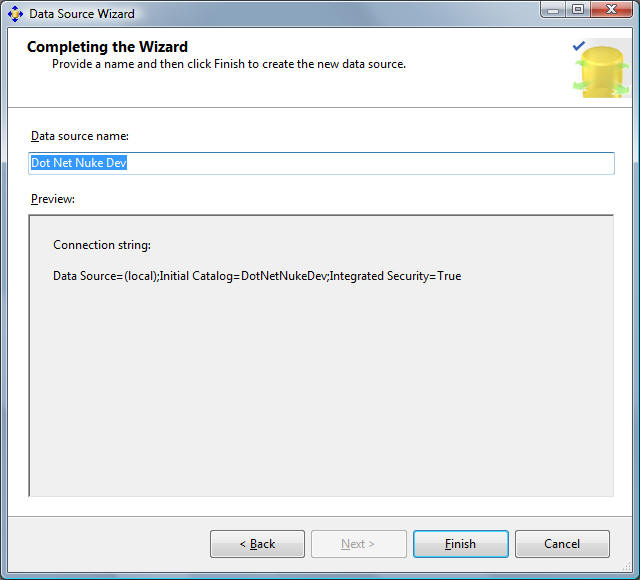
Click Next.
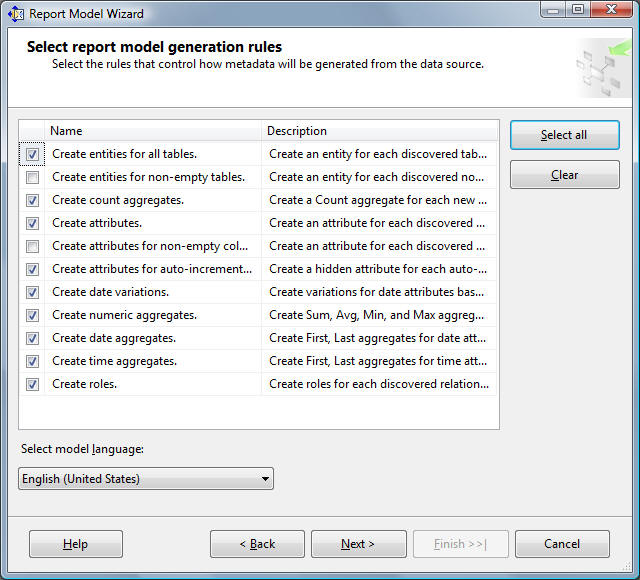
Click Next.
(Note: Normally you would not make a report using DotNetNuke core tables because they could change. The core table is only used for demonstration)


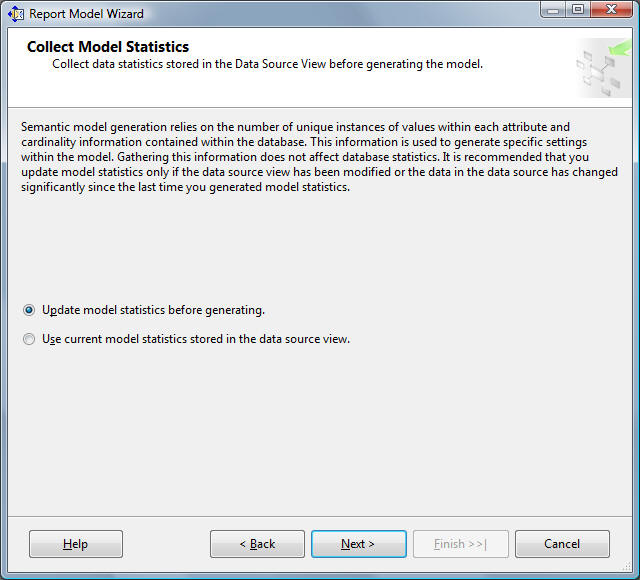
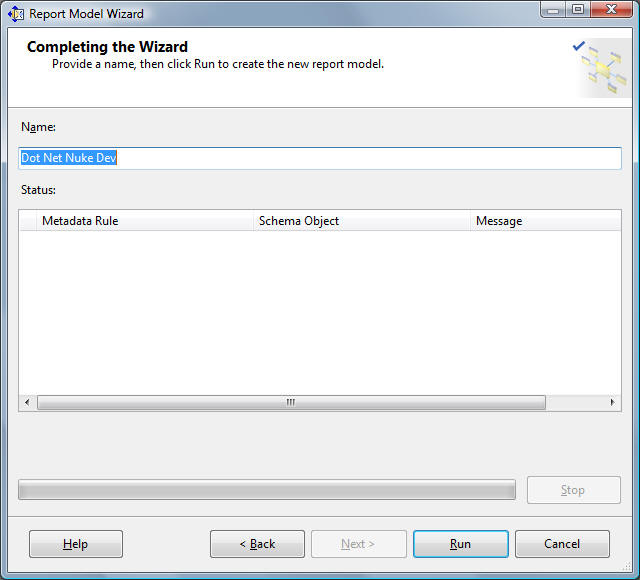
Click Next.
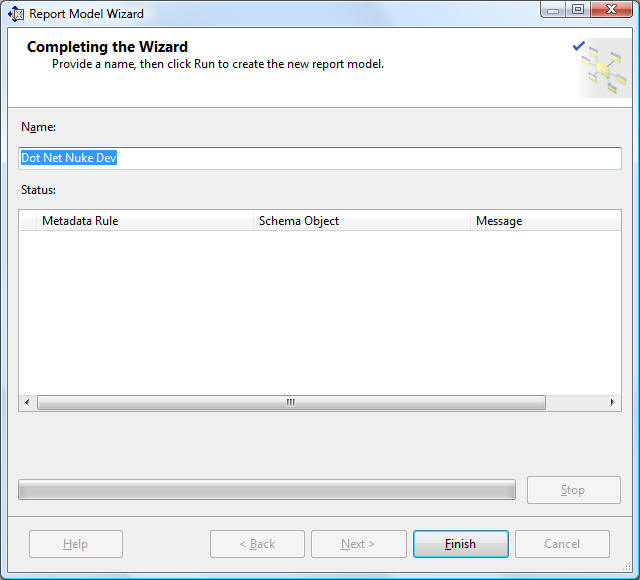
Deploy the Model
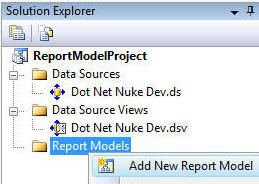
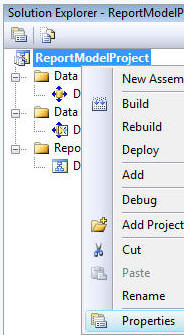
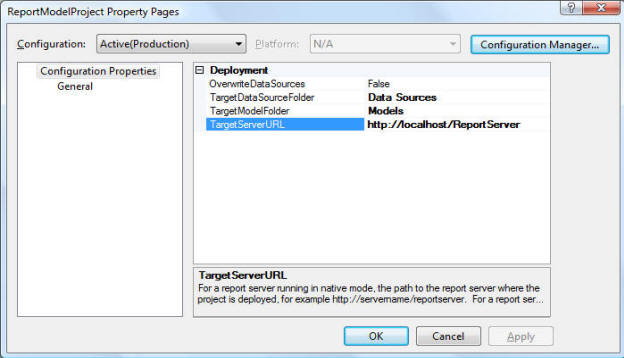
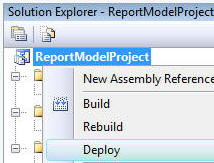
You will now deploy the model to the SQL Reporting Services website.Right-click on the project in the Solution Explorer and select Properties.
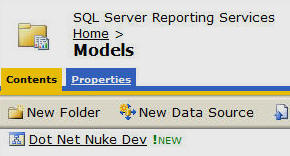
and navigate to the Models directory (usually http://<server name>/Reports/Pages/Folder.aspx?ItemPath=%2fModels&ViewMode=List)
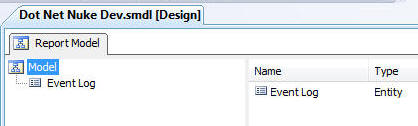
You will see the Report Model you just created.