|
|
|
Create the Table |
 |
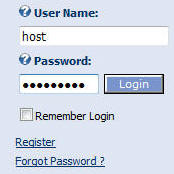
| Log into the website using the Host account. |
 |
|
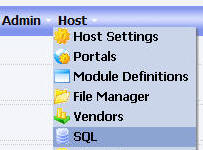
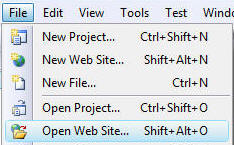
Click on the HOST menu and select SQL |
 |
| Paste the following script into the box: | |
|
CREATE TABLE ThingsForSale ( [ID] [int] IDENTITY(1,1) NOT NULL, [ModuleId] [int] NOT NULL, [UserID] [int] NULL, [Category] [nvarchar](25), [Description] [nvarchar](500), [Price] [float] NULL ) ON [PRIMARY] ALTER TABLE ThingsForSale ADD CONSTRAINT [PK_ThingsForSale] PRIMARY KEY CLUSTERED ([ID]) ON [PRIMARY] |
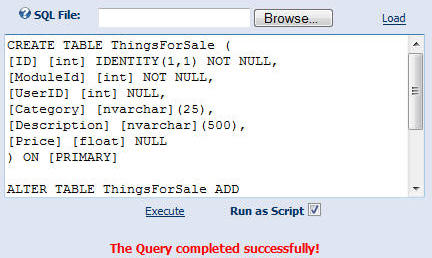 |
| Select the "Run as Script" box and click "Execute". | |
|
|
|
Set Up The ModuleIf you haven't already opened the DotNetNuke site in Visual Studio (or Visual Web Developer Express), select File then Open Web Site. |
 |
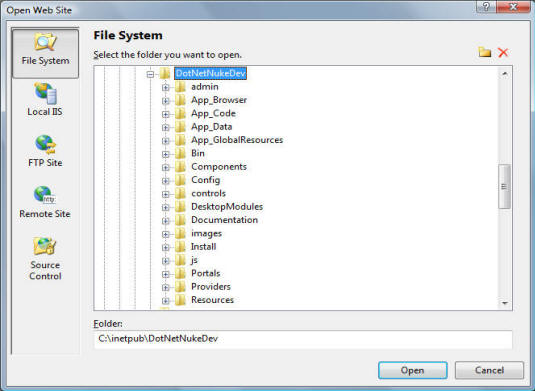
| Select the root of the DotNetNuke site and click the Open button. |
 |
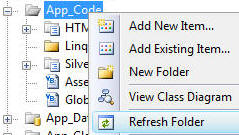
| Right-click on the App_Code folder and select New Folder. | 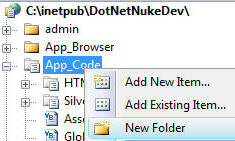 |
| Name the folder LinqThings4Sale. | 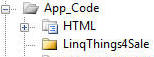 |
| In the Solution Explorer, double-click on the web.config file to open it. |  |
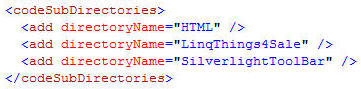
| In the web.config file add the line: <add directoryName="LinqThings4Sale" /> to the <codeSubDirectories> section. This is done to instruct ASP.NET that there will be code created in a language other than VB.NET (which is the language of the main DotNetNuke project). |
 |
Right-click on the App_Code folder and select Refresh Folder. |
 |
| The LinqThings4Sale folder icon will now change to indicate that the folder is now recognized as a special folder. | 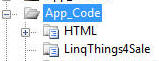 |
Create the LINQ to SQL Class |
|
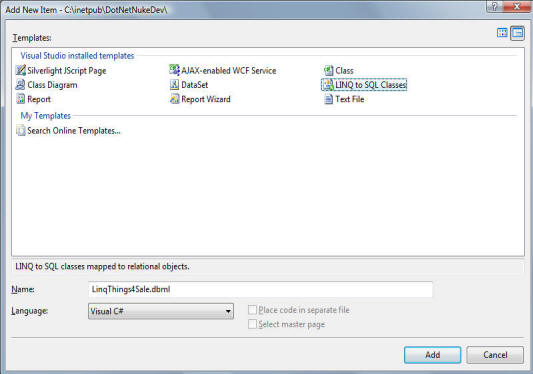
| Right-click on the LinqThings4Sale directory located under the App_Code directory and select Add New Item. | |
| In the Add New Item window, select the LINQ to SQL Classes template, enter LinqThings4Sale.dbml for the Name and select Visual C# for the Language. Click the Add button. |
 |
| Wait a few minutes and the Object Relational Designer will open in the Edit window. | 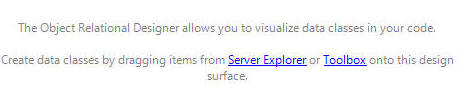 |
| From the toolbar, select View then Server Explorer. |  |
| If you are using SQL
Server Express you will see the database connection is
already available and you can skip the next section. |
|
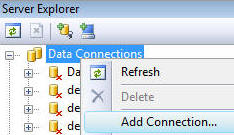
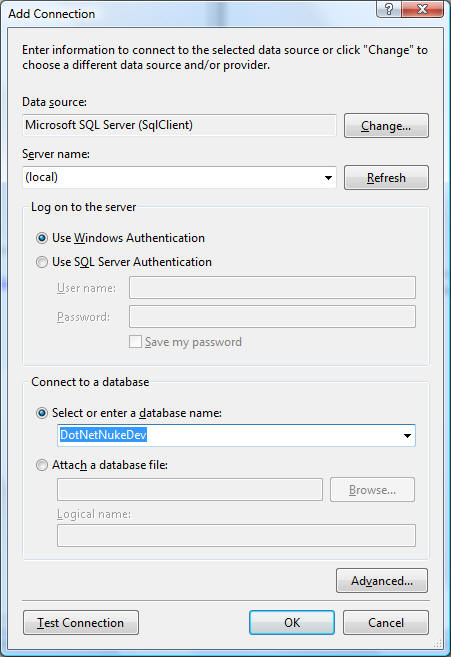
| If you are
using SQL Server (not SQL Server Express), in the Server Explorer, right-click on
the root node (Data Connections) and select Add
Connection. Enter the information to connect to the database the DotNetNuke site is running on. You will be able to select the existing database your DotNetNuke site is running on in the Select or enter a database name dropdown. This will not be the connection that the module will use when it runs (you will set that connection in a later step). This is only a connection to allow you to use the Object Relational Designer. Click the OK button. |
  |
| When the connection shows up in the Server Explorer, click the plus icon to expand it's object tree to display the tables. | 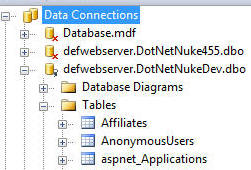 |
| Locate the ThingsForSale table. | 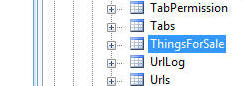 |
| Click on it and drag and drop it on the Object Relational Designer panel on the left. | 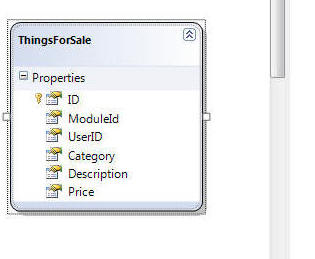 |
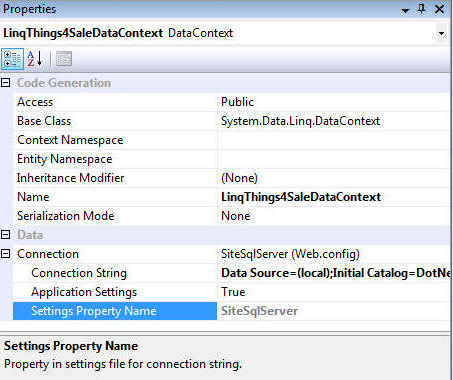
| Click anywhere in the white space on the Object
Relational Designer panel so that the
LinqThings4SaleDataContext properties show in the
Properties window (you can also select it from the drop-down in
the properties window). In the Connection drop-down select SiteSqlServer (Web.config). This instructs the class to use the connection string of the DotNetNuke site that it is running on. |
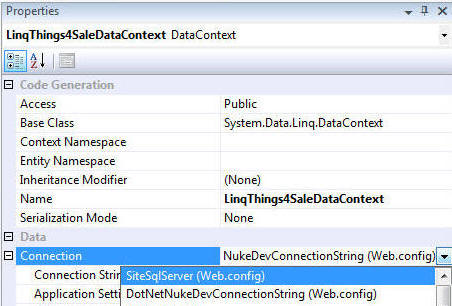 |
The connection properties should resemble the graphic on the right. |
 |
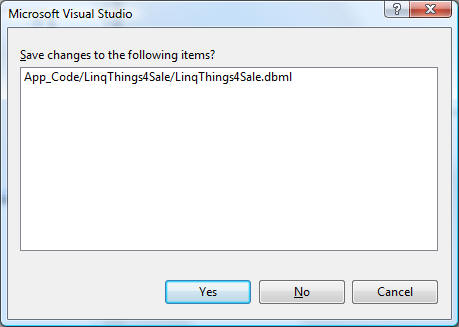
Close the LinqThings4Sale.dbml file. You should see a confirmation screen asking you to save it. Click the Yes button. |
 |
| The Data Access layer is now complete. | |
BACK
|
Next: Create The Module
|
|
Buy DotNetNuke Modules from Snowcovered |
|
(C) by Michael Washington - ADefWebserver.com - Webmaster@ADefWebserver.comDotNetNuke® is a registered trademark of the DotNetNuke Corporation |
|